
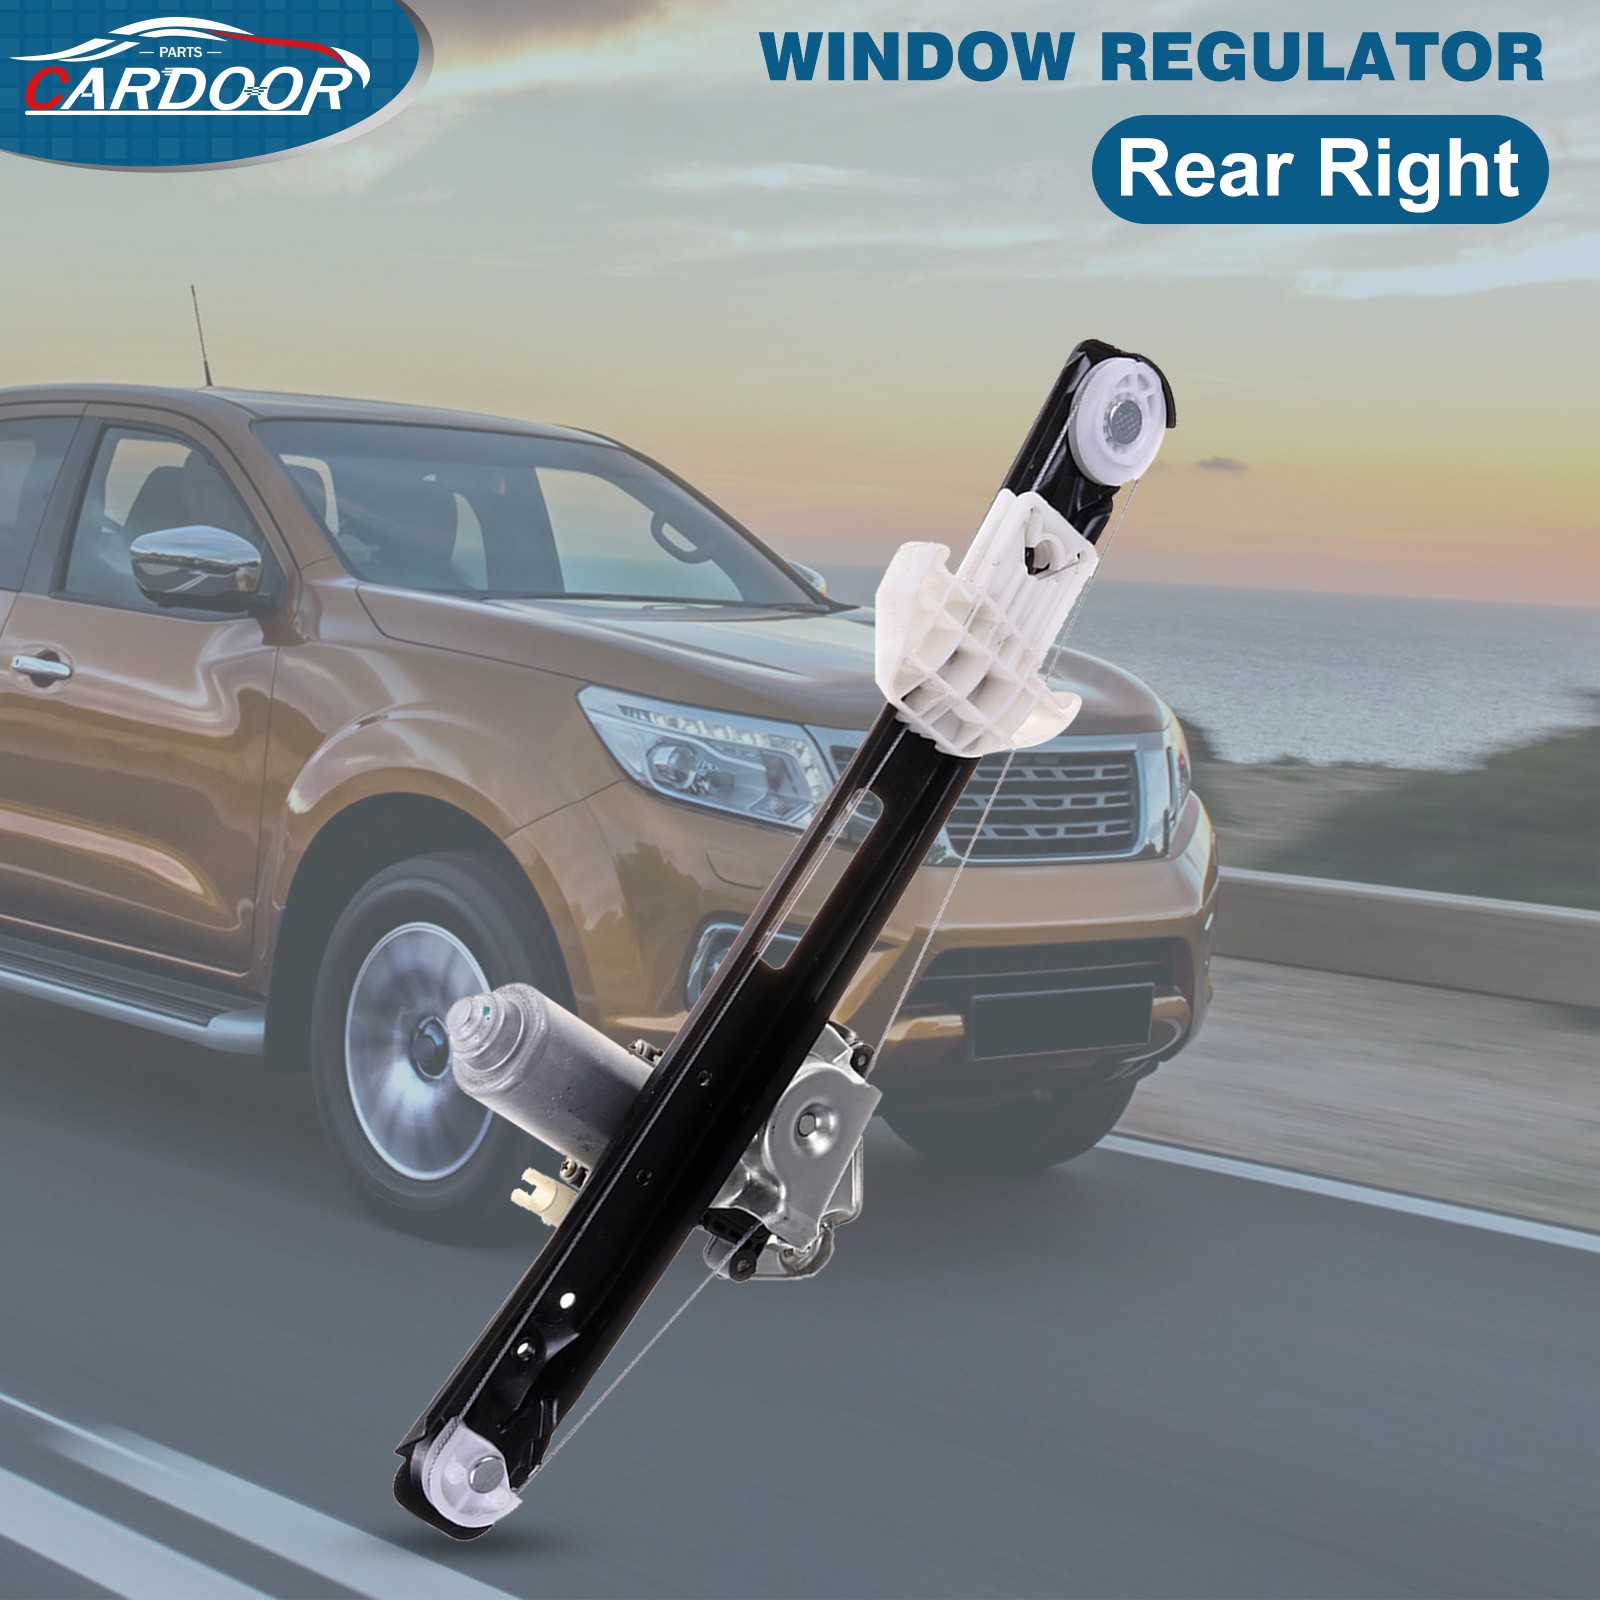
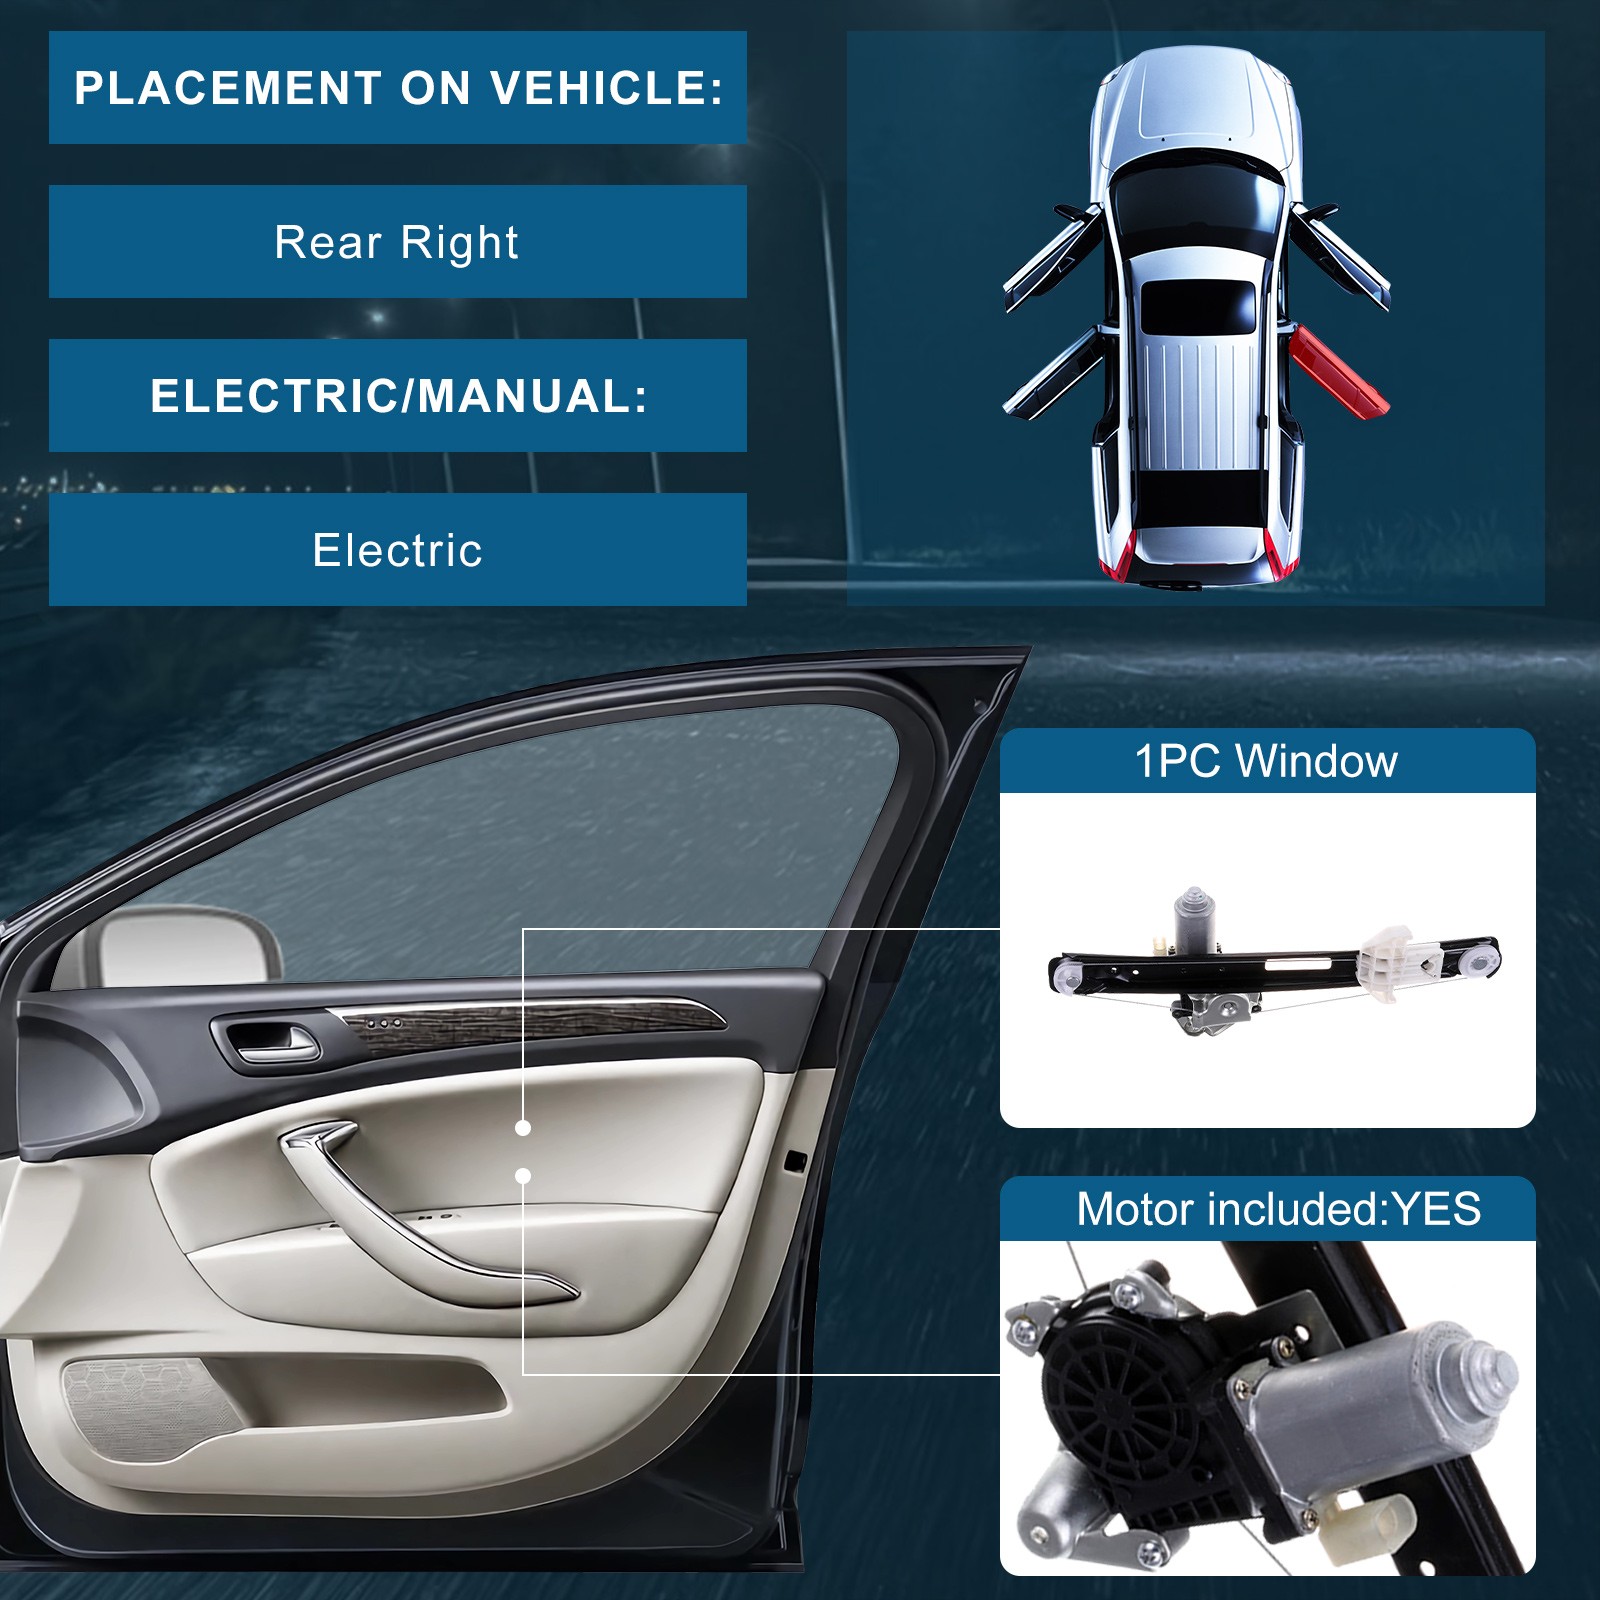

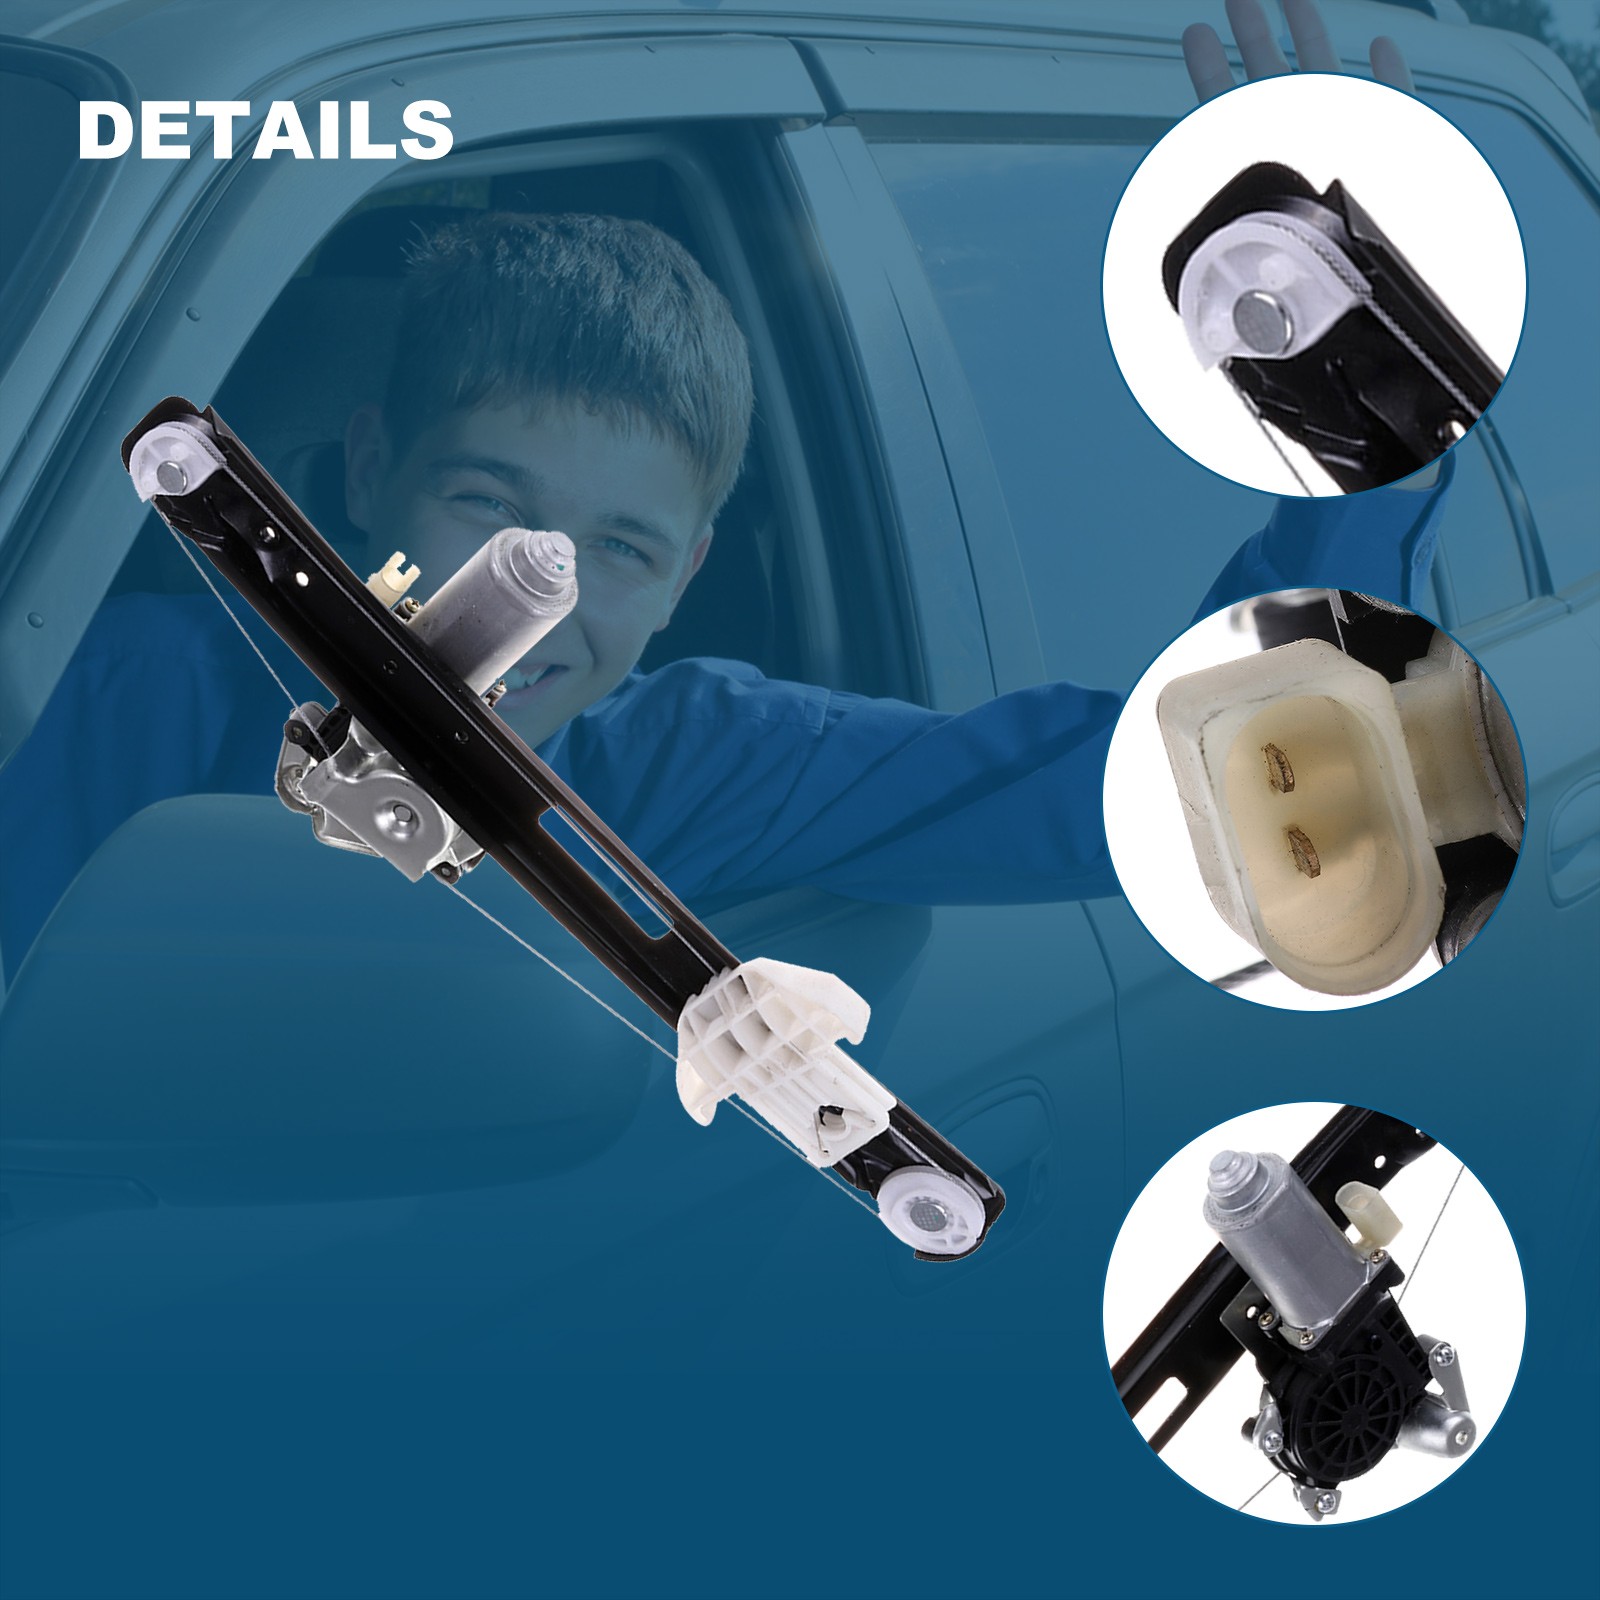




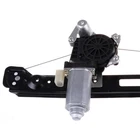


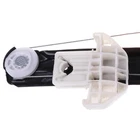

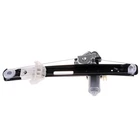

For 2005-2007 Ford Focus 5 Door Power Window Regulator with Motor Rear Right
$ 23.23
Description
Description Our replacement window regulator is precision-engineered and extensively tested to match the exact fit, function and performance of the stock window regulator on specific vehicle years, makes and models. This replacement window regulator is precision-engineered and extensively tested to match the exact fit, function and performance of the stock window regulator on specific vehicle years, makes and models. Your Checklist Use the compatibility chart to identify your vehicle. Visually compare the part you are replacing with our pictures. Match reference numbers from the Item specifics section above. For 2005-2007 Ford Focus 5 Door Power Window Regulator with Motor Rear Right Description Our replacement window regulator is precision-engineered and extensively tested to match the exact fit, function and performance of the stock window regulator on specific vehicle years, makes and models. This replacement window regulator is precision-engineered and extensively tested to match the exact fit, function and performance of the stock window regulator on specific vehicle years, makes and models. Your Checklist Use the compatibility chart to identify your vehicle. Visually compare the part you are replacing with our pictures. Match reference numbers from the Item specifics section above. Find the year,make, model, engine and trim in vehicle application to ensure. Part Number 741-585,1M5Z5427000BA, 1M5Z5427008BA, 2M5Z5427000BA, 6S4Z5427000A, 6S4Z5427000AA, YS4Z5427008BA Fitting for the following vehicles 2007 Ford Focus 4 Door; Hatchback Rear Right 2007 Ford Focus 4 Door; Sedan Rear Right 2007 Ford Focus 5 Door; Wagon Rear Right 2006 Ford Focus 4 Door; Hatchback Rear Right 2006 Ford Focus 4 Door; Sedan Rear Right 2006 Ford Focus 5 Door; Wagon Rear Right 2005 Ford Focus 4 Door; Hatchback Rear Right 2005 Ford Focus 4 Door; Sedan Rear Right 2005 Ford Focus 5 Door; Wagon Rear Right 2004 Ford Focus 4 Door; Hatchback Rear Right 2004 Ford Focus 4 Door; Sedan Rear Right 2004 Ford Focus 4 Door; Wagon Rear Right 2003 Ford Focus 4 Door; Hatchback Rear Right 2003 Ford Focus 4 Door; Sedan Rear Right 2003 Ford Focus 4 Door; Wagon Rear Right 2002 Ford Focus 4 Door; Hatchback Rear Right 2002 Ford Focus 4 Door; Sedan Rear Right 2002 Ford Focus 4 Door; Wagon Rear Right 2001 Ford Focus 4 Door; Sedan Rear Right 2001 Ford Focus 4 Door; Wagon Rear Right 2000 Ford Focus 4 Door; Sedan Rear Right 2000 Ford Focus 4 Door; Wagon Rear Right Package 1x Window regulator with Motor in a box Install the window regulator as follows: Tools required for removal and GLASSES! installation of window regulator and motor assembly: • Silicone spray lubricant • Panel retainer remover • Magnet • Pick • T-20 Torx socket or driver • 1/4” socket or driver • 6mm socket or driver • 5/16” or 8mm socket or driver • Punch • Tape to hold window • Small hammer • Flat-blade screwdriver or plastic pry tool. Removal Instructions STEP 1: Gain access to the Window Regulator assembly by removing the interior trim panel. STEP 1a: Gently pry underneath plastic triangular trim piece in upper right-hand corner above trim panel. Remove trim piece. STEP 1b: Gently pry underneath door handle trim piece and remove trim piece. A plastic pry tool is recommended to protect the trim. Remove the two 1/4” screws that hold the door handle to the door. A magnet is helpful for retrieving the screws once they are loosened. STEP 1c: Use a pick to remove the small circular button under the door handle that covers the screw holding the door handle to the door STEP 1d: Gently pry underneath the door handle and switch trim bezel and remove bezel. Unplug switch and set bezel aside. STEP 1e: Remove the six T-20 Torx screws that secure the door trim panel to the door. STEP 1f: Remove the interior door panel by lifting from the bottom and pushing upward to lift off of door lip. STEP 2: Remove the side impact bolster by twisting it clockwise to disengage the three plastic retainer hooks from the door panel. STEP 3: Remove the speaker by removing the four 6mm screws that hold it to the door panel. Unplug electrical connector and set speaker aside. STEP 4: Remove the interior door handle by unsnapping it from the door frame. Insert panel retainer tool or fl at blade screwdriver underneath the center of the door handle bezel and carefully pry until the retainer unsnaps from the door frame. The handle completely separates from the door frame by then sliding forward (towards the car) to disengage the rear clip. STEP 5: Remove foam vapor barrier by peeling away from door frame. A putty knife may help if it does not peel off easily. There is one plastic side bolster retainer that needs to be removed prior to completely removing vapor barrier. Remove retainer by inserting panel retainer tool underneath and prying it out. Once vapor barrier is removed, set aside being careful not to get black sealant on clothes or interior of car. It is very difficult to remove from cloth. Sealant can be removed from metal surfaces with some gum cutter or a similar chemical. Check to make sure the chemical will not damage the paint surface. STEP 6: Plug the window switch back into vehicle connector. If the Window Regulator still operates, it is helpful to move the Regulator up and down using the switch. If the Window Regulator operates, move the Window Regulator slider until it aligns with the oval hole in the door frame. (See Photos on Following Page). STEP 7: If the Window Regulator does not operate or is bound up, you may need to cut the Window Regulator cable in order to maneuver the slider into position. Be sure to fully support the window glass before cutting the cable so that it does not fall and break. Cut the cable using a heavy duty cable cutter. After cable is cut, move the slider until it aligns with the oval hole in the door frame. You will have to then support the window in this position using a helper or tape. (See Photos on Following Page). STEP 8: With the slider aligned with the door frame hole, you should see a circular plastic retainer with another smaller retainer inside of it. This setup goes through the holes in the Window Regulator slider as well as the hole in the window glass to secure the glass to the slider. The smaller pin pushes into the larger retainer and spreads it apart to make a tight fit against the slider and the glass. For reference, look at the replacement Window Regulator to visualize the slider to glass fitment. In order to separate the window glass from the Window Regulator slider, you need to push the center pin out of the larger retainer and then push the larger retainer out of the slider and window glass. Using a small hammer and a punch, tap the small pin out first and then tap the larger pin out. These will fall into the door frame. Retrieve these pieces as you will need them to reattach the replacement Window Regulator. The Window Regulator should now be free from the window glass. STEP 9: Use the window switch or manually move the window glass into the full upright position. Secure the window glass to the door frame using tape. Painter’s tape works well because it will not damage the door paint or leave a sticky residue. STEP 10: Unplug the window lift motor connector. It may be helpful to use a pick to disengage the clip holding the connector to the window lift motor. STEP 11: Remove the three 8mm (5/16”) bolts that hold the Window Regulator to the door frame. Remove the Window Regulator from the vehicle. STEP 12: The door is now ready for the installation of the replacement part. Installation Instructions STEP 1: Position Window Regulator in door frame and line up bolt holes. Install the three 8mm bolts that were removed and tighten evenly. STEP 2: Reconnect the window lift motor electrical plug. STEP 3: Position the window glass so that you can access the hole in it that is used to secure it to the window Regulator slider. You will need to access the hole in the glass from inside the door frame, not through the small hole that you tapped the retainer out. You may need to move the Regulator slider out of the way and or move the glass into a different position. If you do move the glass, make sure to secure it before going forward. With the glass in the position that you need, push the pin into the larger retainer just enough to hold it in place. Insert the retainer into the Window glass and center it. Push the pin all the way into the retainer to spread it apart and hold it tight against window glass. Make sure the retainer stays centered in the window hole. The window glass is now ready to be attached to the Regulator slider. If plastic retainer is missing or damaged, a replacement is available from Ford. The part number is: XW4Z-54234A44-AA. The new retainers come in one piece. You have to cut the new one in half with a razor knife before installing. STEP 4: Move the window glass into the Window Regulator slider. Once the holes in the slider are aligned with the plastic retainer, the glass and the slider should snap together in place. Wiggle the window glass around making sure that they are secured. Using the window switch, move the window up and down to make sure everything functions properly. Lubricate the window run channels with silicone spray as you are operating the window up and down. STEP 5: Park the window in the full upright position and unplug the window switch. Set window switch and bezel aside. STEP 6: Replace the foam vapor barrier. Make sure to snap the plastic clip that was removed back into place. STEP 7: Reinstall the interior door handle by sliding the rear clip (away from car) into place and then snapping the front clip in place against the door frame. STEP 8: Reinstall the speaker by reconnecting the electrical plug and then reinstalling the four 6mm screws that were removed STEP 9: Reinstall the side impact bolster by lining up the three plastic retainer hooks and then twisting clockwise to seat properly. STEP 10: Reinstall the interior door panel by catching the top on the lip of the door frame and then pushing downward so that the screw holes line up with the plastic blocks that they screw into. Make sure that the window switch electrical plug is protruding through the proper hole and is not trapped by the panel. STEP 11: Reinstall the two 1/4” screws that go through the door handle and tighten. Snap door handle cover in place. STEP 12: Reconnect the window switch electrical connector and snap window switch/ door handle bezel in place. Reinstall the T-20 Torx screw that holds the bezel in place and tighten. Snap plastic button over screw. STEP 13: Reinstall the six T-20 Torx screws that hold the door panel to the door frame. STEP 14: Reinstall triangular trim piece by snapping back into place. Warranty: This product is covered by our 1-year warranty. If a failure occurs due to a manufacturing defect during the expected use, we will replace the part free of charge Item Specifics Brand Cardoor_parts Manufacturer Part Number CA10611201PS Placement on Vehicle Rear Right Type Window Regulator Operating Mode Electric Motor Included YES OE/OEM Part Number 741-585 Custom Bundle No Package Contents 1 ?? Window Regulator Packaging Type Box Manufacturer Warranty 1 Year Material Stainless Steel Superseded Part Number 1M5Z5427000BA, 1M5Z5427008BA, 2M5Z5427000BA Interchange Part Number 6S4Z5427000A, 6S4Z5427000AA, YS4Z5427008BA Product Fit Direct fit Attachment Type Bolt On Performance Part Yes Modified Item No Installation Instructions Included No Gear Material Plastic Frame Material Metal and Plastic Mounting Hardware Included No Fitment Type Direct Replacement Housing Material Steel Vintage Car Part No Universal Fitment No Fitment For 2005-2007 Ford Focus 5 Door; Wagon Payment We allow to pay by Credit Card, Direct Debit, VISA, eCheck, or other methods. For multiple purchases, please add items to your Ebay shopping cart and pay once for entire order. Shipping All domestic orders will be shipped via USPS, UPS or Fedex from our US warehouse and usually arrives to your door in about 2-7 business days. We do not ship to P.O. Boxes, APO/FPO or Military Mail Box. Returns All of our brand new items come with a 60-Days money-back guarantee. If you are not satisfied with your purchase, you can return the item with original packaging back to us for full refund, not any re-stock fee. The return cost should be paid by seller. Kindly contact us for return instruction before returning. If you receive any wrong items, or damage during the transportation or defect items, we will accept the return and pay the return freight. Please noted that the return cost should be prepaid by buyer, we will issue the refund of return cost to buyer after inspecting the faulty item. The full refund or replacement will be available for all faulty items, including the original shipping cost. Please kindly contact us before return, our representatives will send you the detailed return instruction. The guarantee will be only for the cost of the item, we will not responsible for installation or other fees like labor expenses, towing expenses, additional repair expenses or other related expenses. Contact Us We fully understand how challenging it is to be a successful transaction. If you are not 100% satisfied with your purchase, please do not hesitate to tell us, our sales representatives will try the best to make you happy. Customer satisfaction is our priority consideration! Warning Please check the compatibility carefully before purchasing. If you are not sure about the model, please contact us in time. Best Sales For 2002-2006 Chevrolet Avalanche 1500 2500 Window Regulator w/ Motor Front+Rear USD 135.88 For 2003-2021 Toyota Power Window Lift Motor Front Right&Left or Rear Left&Right USD 35.88 For 1996-2000 Honda Civic 2 Door Power Window Regulator w/ Motor Pair Front USD 103.83 For 2013-2016 Hyundai Elantra Power Window Regulator With Motor Front Left USD 74.40 For Kwikee 1820124 RV Coach Heavy Electric Entry Step Motor 300-1406 USD 32.17 Newly Listed Turbocharger Turbo For Subaru Impreza 2.5L 2008-2014 RHF55 14411AA800 USD 135.99 Front Left or Right CV Axle Assembly For Subaru Forester Legacy Outback USD 76.99 Front Left Right CV Axle Assembly For 2010-2014 Subaru Forester Legacy Outback USD 134.99 Auto Front Left Right CV Axle Assembly For 2002-2004&2006-2008 Audi A4 1.8L USD 142.89 Auto Front Left or Right CV Axle Assembly For 2002-2006 Audi A4 Quattro USD 75.49 Terms & Contact Payment Policy Shipping Policy Return Policy FAQ About Us For 2005-2007 Ford Focus 5 Door Power Window Regulator with Motor Rear Right Description Our replacement window regulator is precision-engineered and extensively tested to match the exact fit, function and performance of the stock window regulator on specific vehicle years, makes and models. This replacement window regulator is precision-engineered and extensively tested to match the exact fit, function and performance of the stock window regulator on specific vehicle years, makes and models. Your Checklist Use the compatibility chart to identify your vehicle. Visually compare the part you are replacing with our pictures. Match reference numbers from the Item specifics section above. Find the year,make, model, engine and trim in vehicle application to ensure. Part Number 741-585,1M5Z5427000BA, 1M5Z5427008BA, 2M5Z5427000BA, 6S4Z5427000A, 6S4Z5427000AA, YS4Z5427008BA Fitting for the following vehicles 2007 Ford Focus 4 Door; Hatchback Rear Right 2007 Ford Focus 4 Door; Sedan Rear Right 2007 Ford Focus 5 Door; Wagon Rear Right 2006 Ford Focus 4 Door; Hatchback Rear Right 2006 Ford Focus 4 Door; Sedan Rear Right 2006 Ford Focus 5 Door; Wagon Rear Right 2005 Ford Focus 4 Door; Hatchback Rear Right 2005 Ford Focus 4 Door; Sedan Rear Right 2005 Ford Focus 5 Door; Wagon Rear Right 2004 Ford Focus 4 Door; Hatchback Rear Right 2004 Ford Focus 4 Door; Sedan Rear Right 2004 Ford Focus 4 Door; Wagon Rear Right 2003 Ford Focus 4 Door; Hatchback Rear Right 2003 Ford Focus 4 Door; Sedan Rear Right 2003 Ford Focus 4 Door; Wagon Rear Right 2002 Ford Focus 4 Door; Hatchback Rear Right 2002 Ford Focus 4 Door; Sedan Rear Right 2002 Ford Focus 4 Door; Wagon Rear Right 2001 Ford Focus 4 Door; Sedan Rear Right 2001 Ford Focus 4 Door; Wagon Rear Right 2000 Ford Focus 4 Door; Sedan Rear Right 2000 Ford Focus 4 Door; Wagon Rear Right Package 1x Window regulator with Motor in a box Install the window regulator as follows: Tools required for removal and GLASSES! installation of window regulator and motor assembly: • Silicone spray lubricant • Panel retainer remover • Magnet • Pick • T-20 Torx socket or driver • 1/4” socket or driver • 6mm socket or driver • 5/16” or 8mm socket or driver • Punch • Tape to hold window • Small hammer • Flat-blade screwdriver or plastic pry tool. Removal Instructions STEP 1: Gain access to the Window Regulator assembly by removing the interior trim panel. STEP 1a: Gently pry underneath plastic triangular trim piece in upper right-hand corner above trim panel. Remove trim piece. STEP 1b: Gently pry underneath door handle trim piece and remove trim piece. A plastic pry tool is recommended to protect the trim. Remove the two 1/4” screws that hold the door handle to the door. A magnet is helpful for retrieving the screws once they are loosened. STEP 1c: Use a pick to remove the small circular button under the door handle that covers the screw holding the door handle to the door STEP 1d: Gently pry underneath the door handle and switch trim bezel and remove bezel. Unplug switch and set bezel aside. STEP 1e: Remove the six T-20 Torx screws that secure the door trim panel to the door. STEP 1f: Remove the interior door panel by lifting from the bottom and pushing upward to lift off of door lip. STEP 2: Remove the side impact bolster by twisting it clockwise to disengage the three plastic retainer hooks from the door panel. STEP 3: Remove the speaker by removing the four 6mm screws that hold it to the door panel. Unplug electrical connector and set speaker aside. STEP 4: Remove the interior door handle by unsnapping it from the door frame. Insert panel retainer tool or fl at blade screwdriver underneath the center of the door handle bezel and carefully pry until the retainer unsnaps from the door frame. The handle completely separates from the door frame by then sliding forward (towards the car) to disengage the rear clip. STEP 5: Remove foam vapor barrier by peeling away from door frame. A putty knife may help if it does not peel off easily. There is one plastic side bolster retainer that needs to be removed prior to completely removing vapor barrier. Remove retainer by inserting panel retainer tool underneath and prying it out. Once vapor barrier is removed, set aside being careful not to get black sealant on clothes or interior of car. It is very difficult to remove from cloth. Sealant can be removed from metal surfaces with some gum cutter or a similar chemical. Check to make sure the chemical will not damage the paint surface. STEP 6: Plug the window switch back into vehicle connector. If the Window Regulator still operates, it is helpful to move the Regulator up and down using the switch. If the Window Regulator operates, move the Window Regulator slider until it aligns with the oval hole in the door frame. (See Photos on Following Page). STEP 7: If the Window Regulator does not operate or is bound up, you may need to cut the Window Regulator cable in order to maneuver the slider into position. Be sure to fully support the window glass before cutting the cable so that it does not fall and break. Cut the cable using a heavy duty cable cutter. After cable is cut, move the slider until it aligns with the oval hole in the door frame. You will have to then support the window in this position using a helper or tape. (See Photos on Following Page). STEP 8: With the slider aligned with the door frame hole, you should see a circular plastic retainer with another smaller retainer inside of it. This setup goes through the holes in the Window Regulator slider as well as the hole in the window glass to secure the glass to the slider. The smaller pin pushes into the larger retainer and spreads it apart to make a tight fit against the slider and the glass. For reference, look at the replacement Window Regulator to visualize the slider to glass fitment. In order to separate the window glass from the Window Regulator slider, you need to push the center pin out of the larger retainer and then push the larger retainer out of the slider and window glass. Using a small hammer and a punch, tap the small pin out first and then tap the larger pin out. These will fall into the door frame. Retrieve these pieces as you will need them to reattach the replacement Window Regulator. The Window Regulator should now be free from the window glass. STEP 9: Use the window switch or manually move the window glass into the full upright position. Secure the window glass to the door frame using tape. Painter’s tape works well because it will not damage the door paint or leave a sticky residue. STEP 10: Unplug the window lift motor connector. It may be helpful to use a pick to disengage the clip holding the connector to the window lift motor. STEP 11: Remove the three 8mm (5/16”) bolts that hold the Window Regulator to the door frame. Remove the Window Regulator from the vehicle. STEP 12: The door is now ready for the installation of the replacement part. Installation Instructions STEP 1: Position Window Regulator in door frame and line up bolt holes. Install the three 8mm bolts that were removed and tighten evenly. STEP 2: Reconnect the window lift motor electrical plug. STEP 3: Position the window glass so that you can access the hole in it that is used to secure it to the window Regulator slider. You will need to access the hole in the glass from inside the door frame, not through the small hole that you tapped the retainer out. You may need to move the Regulator slider out of the way and or move the glass into a different position. If you do move the glass, make sure to secure it before going forward. With the glass in the position that you need, push the pin into the larger retainer just enough to hold it in place. Insert the retainer into the Window glass and center it. Push the pin all the way into the retainer to spread it apart and hold it tight against window glass. Make sure the retainer stays centered in the window hole. The window glass is now ready to be attached to the Regulator slider. If plastic retainer is missing or damaged, a replacement is available from Ford. The part number is: XW4Z-54234A44-AA. The new retainers come in one piece. You have to cut the new one in half with a razor knife before installing. STEP 4: Move the window glass into the Window Regulator slider. Once the holes in the slider are aligned with the plastic retainer, the glass and the slider should snap together in place. Wiggle the window glass around making sure that they are secured. Using the window switch, move the window up and down to make sure everything functions properly. Lubricate the window run channels with silicone spray as you are operating the window up and down. STEP 5: Park the window in the full upright position and unplug the window switch. Set window switch and bezel aside. STEP 6: Replace the foam vapor barrier. Make sure to snap the plastic clip that was removed back into place. STEP 7: Reinstall the interior door handle by sliding the rear clip (away from car) into place and then snapping the front clip in place against the door frame. STEP 8: Reinstall the speaker by reconnecting the electrical plug and then reinstalling the four 6mm screws that were removed STEP 9: Reinstall the side impact bolster by lining up the three plastic retainer hooks and then twisting clockwise to seat properly. STEP 10: Reinstall the interior door panel by catching the top on the lip of the door frame and then pushing downward so that the screw holes line up with the plastic blocks that they screw into. Make sure that the window switch electrical plug is protruding through the proper hole and is not trapped by the panel. STEP 11: Reinstall the two 1/4” screws that go through the door handle and tighten. Snap door handle cover in place. STEP 12: Reconnect the window switch electrical connector and snap window switch/ door handle bezel in place. Reinstall the T-20 Torx screw that holds the bezel in place and tighten. Snap plastic button over screw. STEP 13: Reinstall the six T-20 Torx screws that hold the door panel to the door frame. STEP 14: Reinstall triangular trim piece by snapping back into place. Warranty: This product is covered by our 1-year warranty. If a failure occurs due to a manufacturing defect during the expected use, we will replace the part free of charge Item Specifics Brand : Cardoor_parts Manufacturer Part Number : CA10611201PS Placement on Vehicle : Rear Right Type : Window Regulator Operating Mode : Electric Motor Included : YES OE/OEM Part Number : 741-585 Custom Bundle : No Package Contents : 1 ?? Window Regulator Packaging Type : Box Manufacturer Warranty : 1 Year Material : Stainless Steel Superseded Part Number : 1M5Z5427000BA, 1M5Z5427008BA, 2M5Z5427000BA Interchange Part Number : 6S4Z5427000A, 6S4Z5427000AA, YS4Z5427008BA Product Fit : Direct fit Attachment Type : Bolt On Performance Part : Yes Modified Item : No Installation Instructions Included : No Gear Material : Plastic Frame Material : Metal and Plastic Mounting Hardware Included : No Fitment Type : Direct Replacement Housing Material : Steel Vintage Car Part : No Universal Fitment : No Fitment : For 2005-2007 Ford Focus 5 Door; Wagon Payment Shipping Returns Contact Us Warning We allow to pay by Credit Card, Direct Debit, VISA, eCheck, or other methods. For multiple purchases, please add items to your Ebay shopping cart and pay once for entire order. All domestic orders will be shipped via USPS, UPS or Fedex from our US warehouse and usually arrives to your door in about 2-7 business days. We do not ship to P.O. Boxes, APO/FPO or Military Mail Box. All of our brand new items come with a 60-Days money-back guarantee. If you are not satisfied with your purchase, you can return the item with original packaging back to us for full refund, not any re-stock fee. The return cost should be paid by seller. Kindly contact us for return instruction before returning. If you receive any wrong items, or damage during the transportation or defect items, we will accept the return and pay the return freight. Please noted that the return cost should be prepaid by buyer, we will issue the refund of return cost to buyer after inspecting the faulty item. The full refund or replacement will be available for all faulty items, including the original shipping cost. Please kindly contact us before return, our representatives will send you the detailed return instruction. The guarantee will be only for the cost of the item, we will not responsible for installation or other fees like labor expenses, towing expenses, additional repair expenses or other related expenses. We fully understand how challenging it is to be a successful transaction. If you are not 100% satisfied with your purchase, please do not hesitate to tell us, our sales representatives will try the best to make you happy. Customer satisfaction is our priority consideration! Please check the compatibility carefully before purchasing. If you are not sure about the model, please contact us in time. All rights reserved.


Good product fast shipping 5 ⭐
Fits perfectly. Works great.